My half-sister would make an absolutely ridiculous amount of these cookies every December and mail some to us. You could basically smell them through the package and days of postal service grime that had built up.
|
The actual history (or at least the relationship between Italy and Star Anise) behind the cookies originates in a time where Italy was traveling up and down the Silk Road for spices from China and Southeast Asia. Specifically, the Italians found star anise, and that familiar flavor of fennel commonly used in cured meats of old. Wait, isn't this post about cookies? I'm off my base.
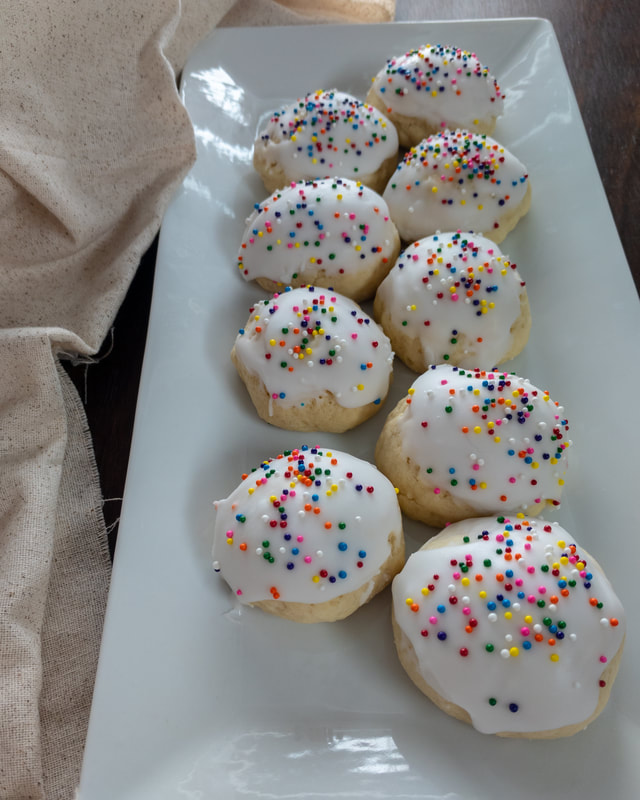
To be fair, I don't think I've seen these outside of a 100 mile radius of White Plains, NY, so some of you may be reading this thinking a) WTF is anise? and b) do they really taste good? I hate licorice, and c) why do they look like a 4 year old decorated them? In reality, some of those are valid (I'll let you decide which ones), but you'll definitely be surprised by the extremely tender, almost drop biscuit/scone like texture, the subtle flavor of licorice, and nice contrasting sweetness and crunch from the glaze and sprinkles. Truly, an outstanding total package. Shopping List:
|
Hardware:
|
Prep:
Preheat your oven to 350 deg F. It's baking time.
Mix the coconut milk, lemon juice, and baking soda together in a small bowl. You should be used to this by now, it's my blog in [current year], so say it with me (and refer to the my biscuit recipe) "Baking soda loves acidic pH environments for optimum rise". Once it's foaming, you'll know it's working - if not, your baking soda may need a replacement. Once that is foamy, add in both the anise and vanilla extracts.
In your stand mixer over its lowest speed, combine the coconut oil and butter and mix for 2-3 minutes or until it has thoroughly combined and is basically whipped around the sides of the bowl. Increase the speed to a medium-ish speed. Gradually stream in the sugar to cream it - you're looking for it to completely dissolve here before you start adding the rest of the ingredients. Scrape down the bowl as necessary, and beat over that medium speed for a few minutes to cream everything together. Turn the speed back down to the lowest setting. Add the eggs, one at a time, pausing to let each egg partially emulsify into the sugar and fats (or at least until it's not streaky). If the eggs are cold, this mixture will look like it has curdled; don't be alarmed. It just happens. Go with it.
In a larger bowl, whisk together the flour, salt, baking powder, and cornstarch. Set aside.
Working in 2-3 batches, alternatively add the flour mixture and the coconut milk mixture to the stand mixer. Astute readers may note that this is very similar to my biscuit recipe in terms of hydration (although it won't be as sticky), but you will only want to mix this until just combined - you're looking for a very tender final product, so gluten is your enemy here.
Once sufficiently combined, pinch off a ball of the dough, and see if it sticks to your hands (it probably will), and manually mix in flour into the batter until it is just slightly tacky, able to be rolled into balls.
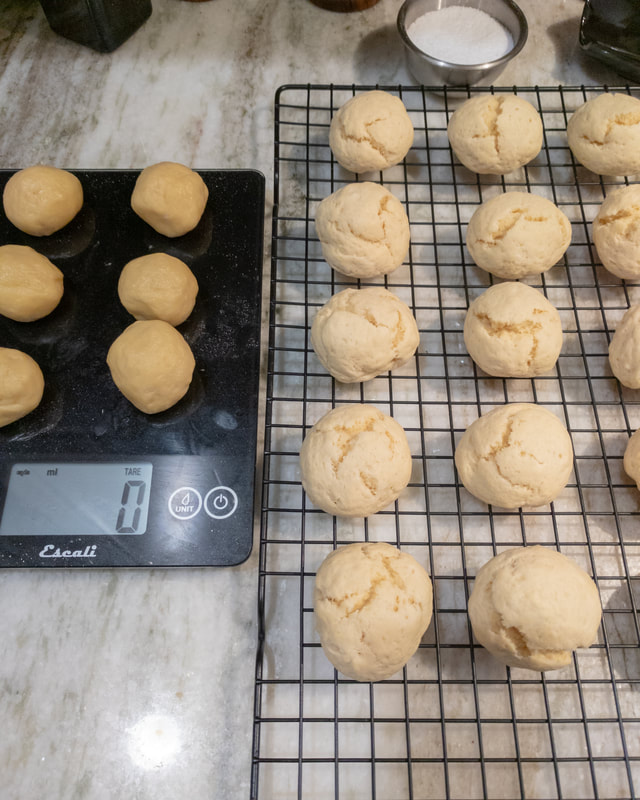
Grab your favorite gram measuring device (AKA A SCALE), and measure out 30 g balls (this is approximately 1 Tbsp balls if you're feeling particularly zesty and cavalier). Place dough balls onto an ungreased, unprepared (with parchment paper) baking tray, leaving at least 1 inch of room for expansion (although they mainly rise thanks to the leavening agents).
The Business:
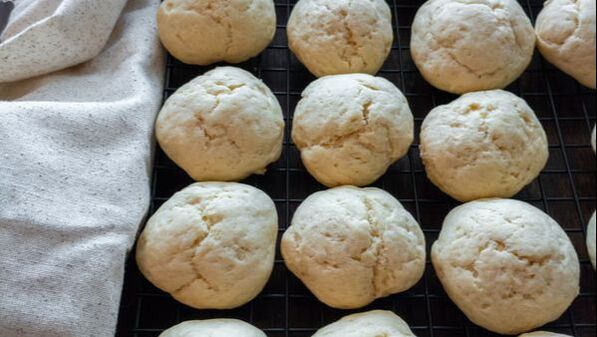
Bake for 14 minutes, or until JUST blonde on the bottom. You won't see much color out of them elsewhere, but you should see a distinct crack in the top from all of the leavening agents. This is good. They'll be pretty soft, so be careful when you handle them. Transfer immediately to a wire rack to cool, and repeat for however many batches you need to finish off the dough (there should be roughly 30 cookies out of this, assuming you didn't eat any raw, which you shouldn't do TBH).
Allow these to fully cool. I'm talking an hour or so or more. I will sometimes go days on the counter, uncovered. Really. Not joking. They don't really dry out, and if they're warm AT ALL, they WILL melt the glaze. This is bad.
When you're ready to frost, mix the glaze ingredients together, noting that this glaze is THICC. Uncannily thick, uncomfortably thick, even. Just trust me on it. Dip each top of the cookie into the glaze, twist and remove to get a nice even coating, and place back onto the wire rack, which should now be set over one of your rimmed baking trays. Immediately sprinkle with your rainbow nonpareils (non-negotiable rainbow colors I might add, especially during the holiday season). The nonpareils will go everywhere. Seriously. Be quick about it. If you wait too long and try to be a hero by glazing all of them and sprinkling all at once, you're going to have a bad time. The glaze is so stout that it hardens within a few minutes.
A note from me, however: if you are making these in advance, wait until the last minute to ice and sprinkle these. The nonpareils will bleed into the pure white glaze and you'll get streaks (read: they won't be AS grammable as possible, but the taste won't be affected).
Enjoy with some coffee, after the gym, before the gym, during gym sets (can you tell I'm currently at the gym?), really whenever. Just enjoy them with friends and family.


