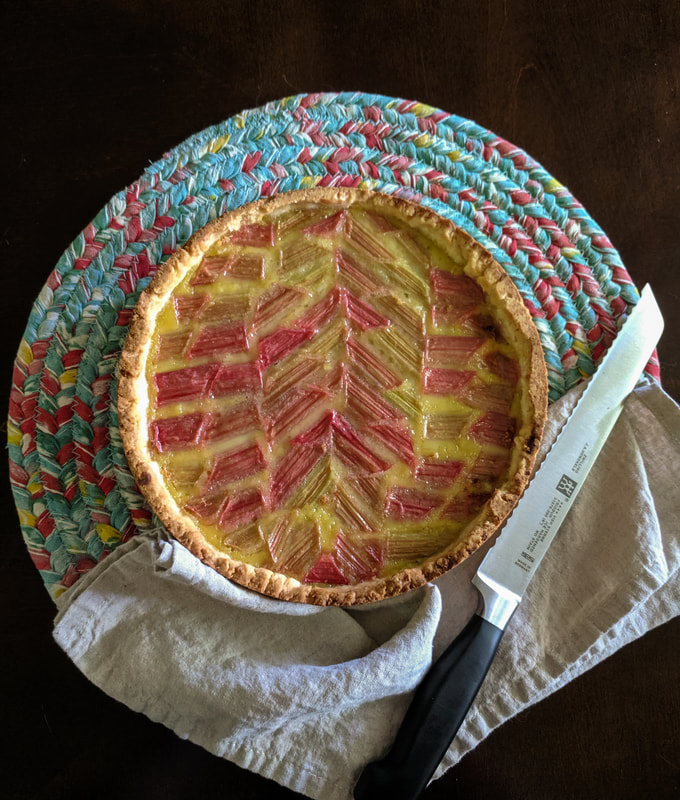
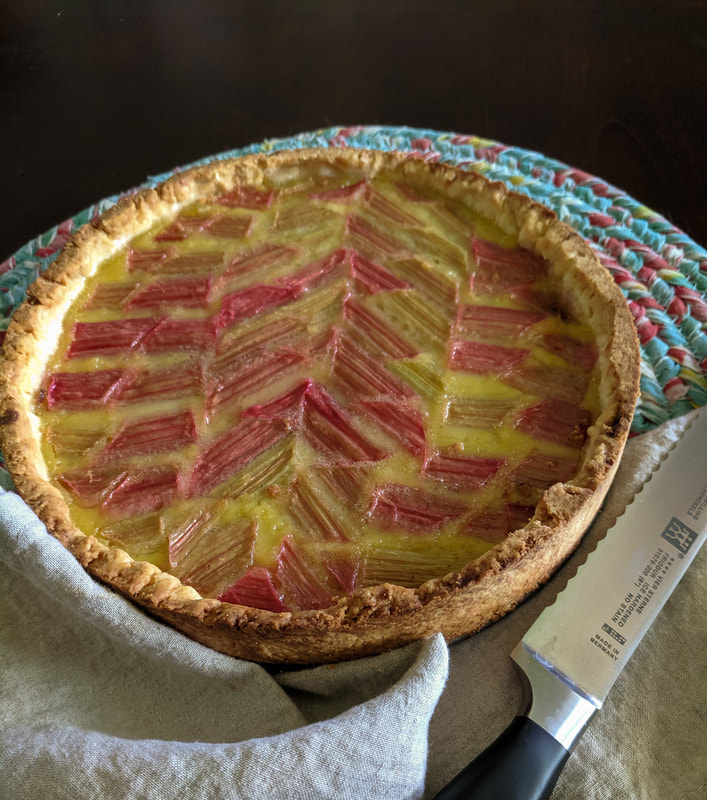
Ah, spring and early-to-mid summer: a perfect time to trim back that out of control celery patch that's in your backyard. A rhubarb tart is a classic, generally slightly sweet custard and the tart rhubarb pair well together - but we're of course making this dairy free, and incorporating some of my own design decisions.
|
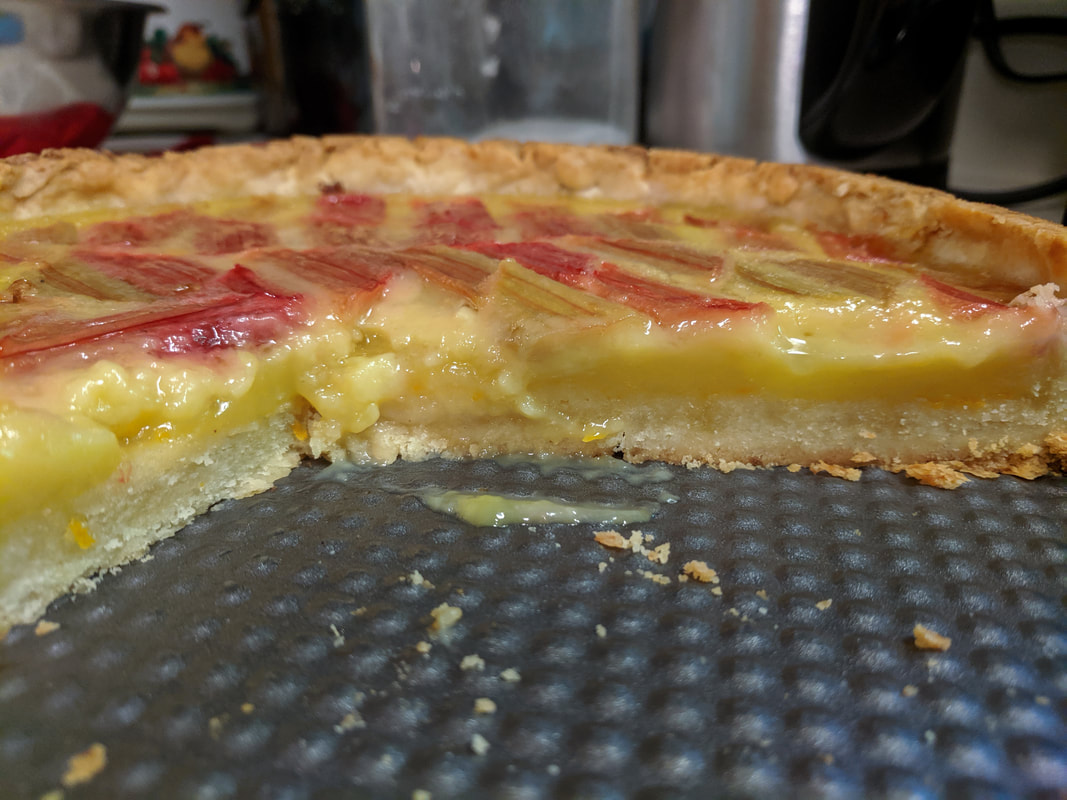
Dairy free custards, yogurts, anything that is supposed to be set, are difficult to pull off. I'll be honest - this is by no means an authentic way of making custard as you would with egg and full fat milk, but just trust me and the science of corn starch on this one.
A lot of recipes will call for an overtly sweet custard, but I'm reigning that in, because I want the tart, almost sourness, of the rhubarb to shine alongside a slightly salty shortbread crust. If you apply balance to just about every dish that you make (desserts, and savory dishes both), you'll be able to taste more nuanced flavors from each element. Shopping List (Custard):
|
Hardware:
|
Prep (for the custard):
Dairy free custard. Seems relatively oxymoronic, because it's hard to imagine non-colloidal solids coagulating into a thick, coat the back of your spoon custard. But it CAN be done. I suggest doing this a few hours ahead of time so that it can cool and will be easier to work with when you're placing it in the tart/pie crust.
In a saucepan over medium heat, heat the coconut cream until it reaches 180 deg F, stirring occasionally as to not burn/scorch it.
While that heats up, whisk the eggs, white sugar, orange zest, corn flour, and vanilla extract, in the bowl to be used as a double boiler and set aside.
Using a tablespoon of the hot coconut cream at a time, temper the egg mixture. This involves slowly whisking in small amounts of the liquid into the egg mixture as to not completely cook it and wind up with scrambled eggs - the slow warming via thermal equilibrium is required and is what achieves proper tempering. You can monitor the temperature of your eggs with the instant-read thermometer if you'd like, but you'll start to see it become more and more pale as you whisk in coconut cream. The warmer it gets, generally, the faster you can start to add more.
Once you have tempered the egg mixture with about a third of your coconut cream, place the bowl over a pot with gently boiling water to make that double boiler, and add the remaining cream. Continually whisk this over the gently boiling water for 5-6 minutes, or until the mixture warms back up to ~155 deg F. Make sure it's well incorporated (and not scrambled eggs either), cover with plastic wrap (press the plastic wrap down to touch the custard so it doesn't form a skin while chilling), and place into your fridge.
Prep (for the shortbread):
Cut your butter into small chunks and place into the freezer for 15 minutes to cool. We're basically making pastry again - although a shortbread is generally less sweet than a traditional pie crust that you've TOTALLY read about in my pecan pie recipe.
Whisk the 200g AP flour, cornstarch, and sugar together in a bowl. Most shortbread crust recipes you'll see will have salt added to the crust - but generally, the dairy free butter substitutes tend to be a bit on the salty side, so I would err on the side of caution to not have a very savory crust. If you're using regular unsalted butter, feel free to add 2 tsp to the flours now.
Cut in the 2 beaten eggs and cold butter until a workable dough forms - don't knead this TOO much, but you will eventually want the dough to come together in a cohesive ball. Once sufficiently worked (this is totally subjective, but make sure the dough is completely hydrated by the egg and fats from the butter), shape into a disc about 1.5 inches thick and tightly wrap in plastic wrap. Place into the freezer to cool - that butter needs time to re-solidify (roughly 30 minutes).
Preheat your oven to 400 deg F, and place the pizza stone in to begin preheating.
Lightly flour a work surface and turn your chilled dough out onto it. Roll it out to about 1/4-3/8" thickness (it should also be two inches wider in diameter than your tart pan. Keep it circular, though. Gently place it into your tart pan - ensuring that the corners have good contact to promote proper browning. Let the crust hang over and then trim once you've formed and pressed it well into the corners. Make sure there aren't any holes on the bottom - if there are, custard will leak through it and it won't be a good time. Prick the bottom of the crust with a fork (being sure not to completely puncture all the way to the tart pan, but make sure you have good coverage) to allow steam to escape and so your crust doesn't puff up. That's not what we're looking for.
Line the interior of the crust with parchment paper and blind bake (with the pie weights or dry black beans) for 10 minutes. Remove from the oven, remove the pie weights and parchment paper and bake another 5 minutes with it empty.
Remove from the oven (again) and allow to cool slightly. AKA use this time to fetch the remaining ingredients and decide what kind of pattern you want on top.
Prep (misc.):
Assemble your clean rhubarb stalks and split them down the middle, and chop them into manageable chunks (roughly 2 inches long). You may have excess rhubarb leftover from this, but that's an excuse to make some rhubarb strawberry jam later on, right? If you're going for a fancy pattern, plan it out with appropriately angled cuts (you've put up trimwork along your ceilings and floors before, right?) - or just lay them out in a subway tile-like pattern ready to be placed on the tart.
Pour the custard into the shell - making sure not to overfill it, but you'll want a healthy layer (because custard is delicious). Then carefully place the cut, raw rhubarb onto the top of the custard (it probably won't be set properly and may splash around, but just be gentle). Carefully transfer to the oven for the final bake.
The Business:
Bake at 400 deg F for 15 minutes. Check the crust and make sure it's not over-browning too fast. If it is, form some aluminum foil shields to cover the exposed crust edges and then continue baking for another 12-15 minutes. The center should JUST be set and only a little wobbly and jiggly. If it hasn't solidified, try another 5 minutes at a time, but any more than 45 minutes in the oven and you may wind up with a well-done crust. User warning.
You can totally eat this thing piping hot with some coconut ice cream, or you can allow it to solidify for a great sweet brunch tart the next morning. Your call. I'm not your mom.


