"See if you can tear one in half to make it look enticing and inviting! As if it's saying 'Come on! Eat me!'"
- @theciaofandiary (Wendy)
- @theciaofandiary (Wendy)
|
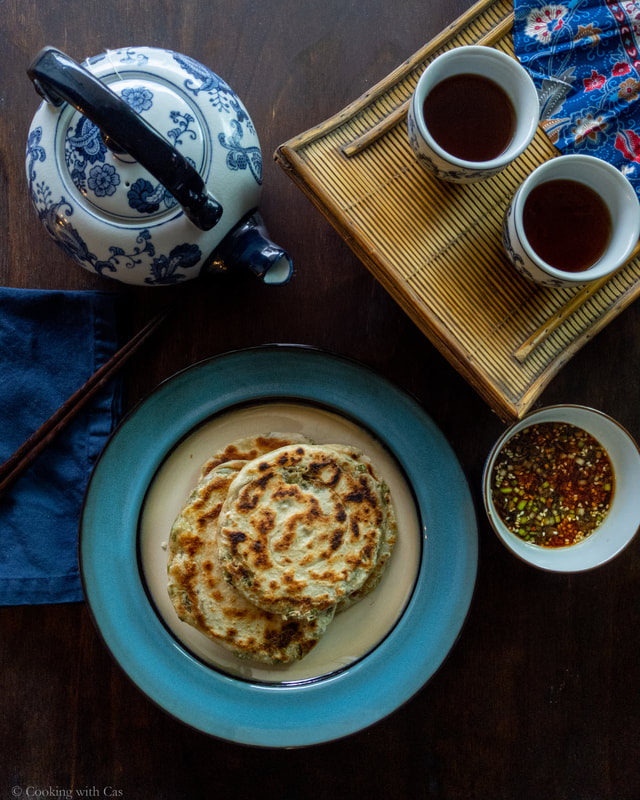
Cong You Bing (葱油饼), scallion pancakes, are a common street food/snack all across China, with several styles and variants in the different regions and geographies (North Chinese style tend to be thinner while the ones in Shanghai are thicker and softer in the middle, with some even incorporating yeast into the dough). They are (completely unfortunately) seemingly underrepresented (or completely absent) in the US' array of Chinese American restaurants (you'd still be able to find them easily on Buford Highway in Atlanta). Hot water pastry, rolled up with a lard-based roux with Sichuan peppercorns, and tons of green onions - then rolled out flat and griddled until layered, flaky, and aromatic.
Really, these exist at the crossroads of portability, long shelf life in your freezer, and packing massive flavor, considering the scant ingredient list. There's also a good amount of bread science at work here: by using hot/boiling water, you gelatinize the starch granules and inhibit gluten formation in the dough, which would make scallion pancakes immensely dense, chewy, and tough (not the desired goal). Remember how Western pancakes need to not be over-mixed and thus tough? Similar concept. I also like adding a little extra rice flour to further get in the way of gluten formation, and this also helps the dough crisp up when frying. Shopping List (Pastry):
|
Hardware:
|
Prep (for the dough):
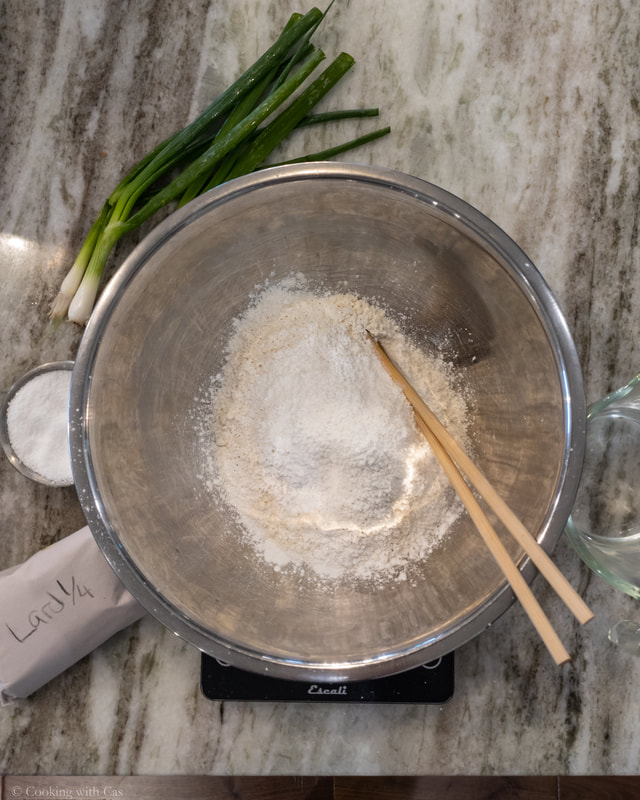
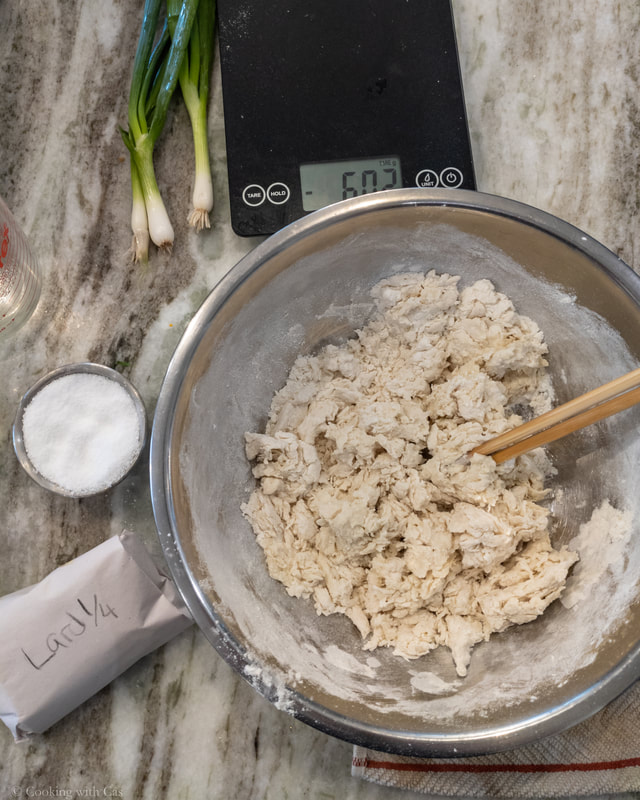
Whisk together the dry ingredients, and measure out the boiling water into a heat-resistant bowl. Using a pair of sturdy chopsticks (alternatively a bread whisk), quickly mix the boiling water into the heap of flour until a workable mass of dough turns out. As you mix the water in with those chopsticks, you'll start to get chunks that looks like 'streaks', 'ears', or for the proper term ‘suizi’ (‘wheat grains’, that describes the shape of the threads you make). Clump these together with your hands once the water has been soaked up, and push the dough around the bowl to catch all the other dry bits. Knead this in the bowl for 5-10 minutes until you get a slightly tacky (but not sticky), dough ball with very little flour still clinging to the bowl. Cover this bowl with a damp tea towel (I like the extra humidity of the towel over using plastic wrap). Let this rest for 30 minutes while you prepare the rest of the ingredients, this is a crucial step to let any gluten formation relax so your dough doesn't try to spring back when you roll it.
Finely chop the scallion greens - the more coarser the chop, the higher chance that they'll burst through the layer(s) of pastry. Set those aside in a bowl.
Melt the lard over the stove or in a microwave safe container in said microwave. You're not looking for boiling fat, as you'll want this somewhat cooled to make it easier to apply, but there shouldn't be any opaque solids remaining.
Optionally toast the Sichuan peppercorns in a dry wok or skillet until fragrant and small splotches of oil dot the wok. Grind them into a powder in your favorite mortar and pestle or spice grinder.
Combine the melted lard, salt, Sichuan peppercorn powder, and flour into a paste. Ideally the lard should be warm enough to slightly cook out that raw flour taste, but make sure it doesn't start foaming like a pan-based roux for gravy would do.
Roll your rested ball of dough into a log and divide it into 8 equal portions, into roughly 3.5 inch diameter discs (gonna be honest I didn't measure their weights here), and return all but one ball to the bowl covered with the damp towel - you don't want these to dry out, similar to dumpling skins. On a slightly oiled surface (you can also do this on a clean, dry countertop, just ensure that it is un-floured), roll each disc out into a rectangle as thin as you can go, roughly a 8 inch by 4-5 inch rectangle. If the edges aren't perfectly square, don't worry, it's getting rolled up twice anyway.
Spread a tablespoon or so of your roux over the top of the rectangle, leaving a border around the edges to help seal up the parcel, and then press in a handful of scallions into the roux. Starting at one end, roll along the axis until you have another cylinder of dough separated by layers of roux and scallions. See the below images for a walkthrough on how to do this. Slightly pinch the hanging seam closed if you feel like it's not sealed well.
You now need to make the signature swirl, and you can go about this in two ways, both similar, and basically equally as effective. 1) starting from one end of your log, roll the end all the way to the other end, working parallel to your work surface (look, I can't think of a good analogous descriptive, so maybe just check the pictures below), or 2) twist both ends toward the center, and then stack the two 'fiddlehead' looking curls on top of each other. Once you've arrived at a fat, swirled package, take your rolling pin and roll that out, swirl-side up, until flat. Every roll or so, turn the parcel to make sure it isn't sticking to your counter, and if it is, spread a tiny film of oil, just to be safe. Also make sure you aren't rolling these too thin so they tear (remember that you have slightly lower gluten formation, so they aren't as pliable). You're looking for a 5.5-6 inch diameter, and about 2/3-3/4 inch thickness, but get in that ballpark.
As for prep ahead of time, I like to get two or so made before I start griddling them, as they don't freeze very well when raw, and a rest time also helps the layers of lard re-solidify at room temperature (thanks saturated fats) for even cleaner separation of layers.
Whisk all the dipping sauce ingredients together, this can last for as long as you want, really, and trust me, you'll go through it quickly.
Turn your oven on its lowest heat (the Keep Warm setting if you have it), and place a wire rack with a rimmed baking tray under it. Begin preheating your cast iron skillet or griddle over medium-ish heat. You want this to be at a pretty constant temperature throughout the cooking process, definitely above 400 deg F, and you'll be cooking these for a longer-than-expected amount of time.
The Business:
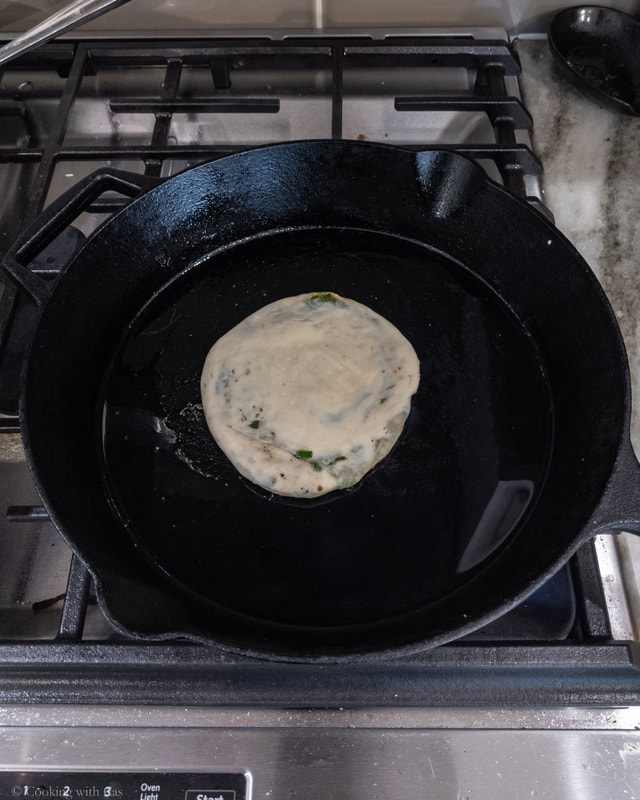
Spread a thin layer of oil on your skillet or griddle and lay as many pancakes as you feel comfortable maintaining at a time. On a standard electric griddle, I'd go with 3, maybe 4, depending on their diameter, but if it's a cast iron skillet, I just go one at a time.
Now, unlike Western pancakes with that 'only turn once' mantra, you'll need to keep flipping these throughout the cooking process a) to make sure they don't burn on one side and b) to make sure your layers of fat are sufficiently heated through to cook the pancakes properly. I cook these for AT LEAST 10 minutes, flipping AT LEAST 4 times regularly. Once I see some dark blisters, I know it's getting close, but nothing should be charred by any means. If things start to stick, reapply some oil and go again. Some stalls in Shanghai will take 20 minutes to properly fry some of the thicker ones, and of course, your mileage will vary depending on how thin you got them.
Once cooked, I like to throw these in the warm oven to both keep warm and to slightly dry out the exterior, as you don't want them overtly greasy (street food and all), and are tactily fun to tear and rip and dunk into sauces.
Enjoy!


