Did this page become a baking blog? God I hope not, because the amount of flour I'm going through is 100% unsustainable. But hey, if you've got two weeks to kill (assuming you don't have a ripe sourdough starter ready to go), read along and see how to make some of the best bread of your life using a total of 6 ingredients. 7 if you count time.
|
Please, whatever you do, try not to stray too far from the steps listed. Unless you like really underwhelming bread.
This loaf (or loaves) will take liberal use of the autolysis process in which enzymes inside the flour will begin to 'eat' itself when coming into contact with water. What this does is jump-start the gluten formation process and reduces the overall time that you need to work the dough to strengthen it (AKA you don't have to knead as long). Shopping List:
In terms of bakers percentages: what you'll need is 100% flour 80% water 20% leavener 2% salt So feel free to follow that rudimentary ratio, but use no less than 500g of combined flours to get a proper loaf. For example, if you hate yourself and want to make 4 equivalent loaves of bread in the same day, you would use a total of 2kg of flour and 1.6kg of water. |
Prep:
Ensure that your sourdough starter is ready to go. Generally, you should see the volume of your starter double in size over the course of 5-6 hours to know that it's ready. If you've fed it twice a day for the previous two days, then you should be good.
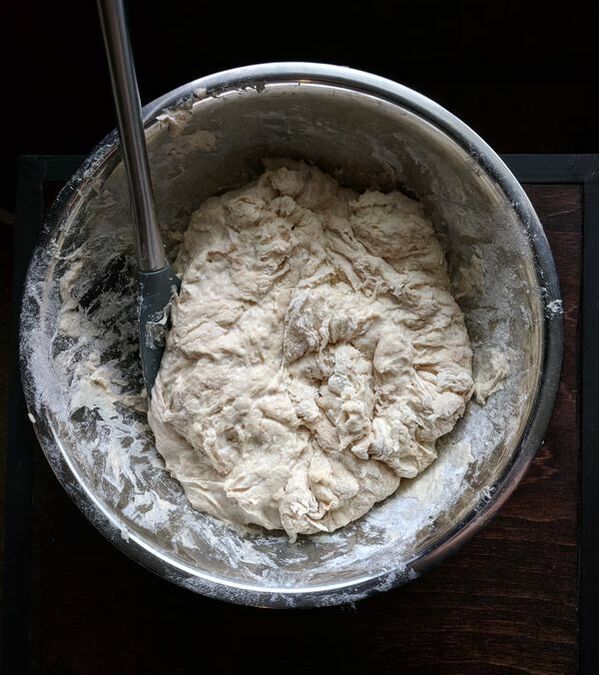
In a large mixing bowl, measure (by weight, obviously) 800g of Bread Flour and 100g each of Whole Wheat Flour and Unbleached AP Flour. Shake it up to combine if you like, or don't. Mix in 750g filtered (non-chlorinated) water until you don't really have any dry specks of flour. It may look like there's not enough water, but keep mixing and you'll be good. This is now your proto-dough that needs to autolyse for a couple of hours. If you're in a rush (if then why are you baking bread), you can autolyse for 30 minutes, but I suggest at least two hours. Cover this with plastic wrap or a tea towel to discourage a thick film from forming on the exterior of the dough.
Once you can feel a slight texture change (the signature of the dough beginning to strengthen and feeling gluten formation), add in 200g of your ripe sourdough starter and 20g of salt and another 50g of water. Incorporate all of this into the dough. This could potentially get messy, but keep at it until you're ready to start kneading it via the 'slap-and-fold' method.
Did I mention this is going to get messy?
Take your mass of dough and absolutely slam it on the counter. Pick it up and do it again. And again. And again. You should hear really hard smacks as the dough strengthens even further from this knead. As you continue it'll get less and less pliable, and this is a good sign. Do this for 5-10 minutes or until the dough doesn't really spread a ton as it rests on the counter. That, or you can do a 'window-pane' test and stretch out a chunk of the dough as if you were making a mini-pizza. If you can get it thin enough to see shadows behind it without it tearing apart, then you're good to go.
In a lightly greased and large bowl or tub, proof the dough for 3 hours. Every 40-45 minutes take it out and give it a stretch. This will encourage MORE gluten development, so just pull it up a few feet from the center (with oiled hands) and letting it slink back down, folding back on itself.
Divide the dough in half (if you opted for 1000g total of flour, leave it alone if you are only making one loaf) and pre-shape into rough circles. Let rest for about five minutes and make sure the dough doesn't spread TOO much as it sits.
On a floured surface, stitch the bottom of loaves together. This is done by flipping the mass of dough on its head, folding the South edge of it towards the center, followed by West and East and then North. It may take some practice, but what you're doing is helping the top of the loaf stay taut and giving your base crust a little bit of character on the bottom. Roll it back over so your seam-side is back on the floured surface.
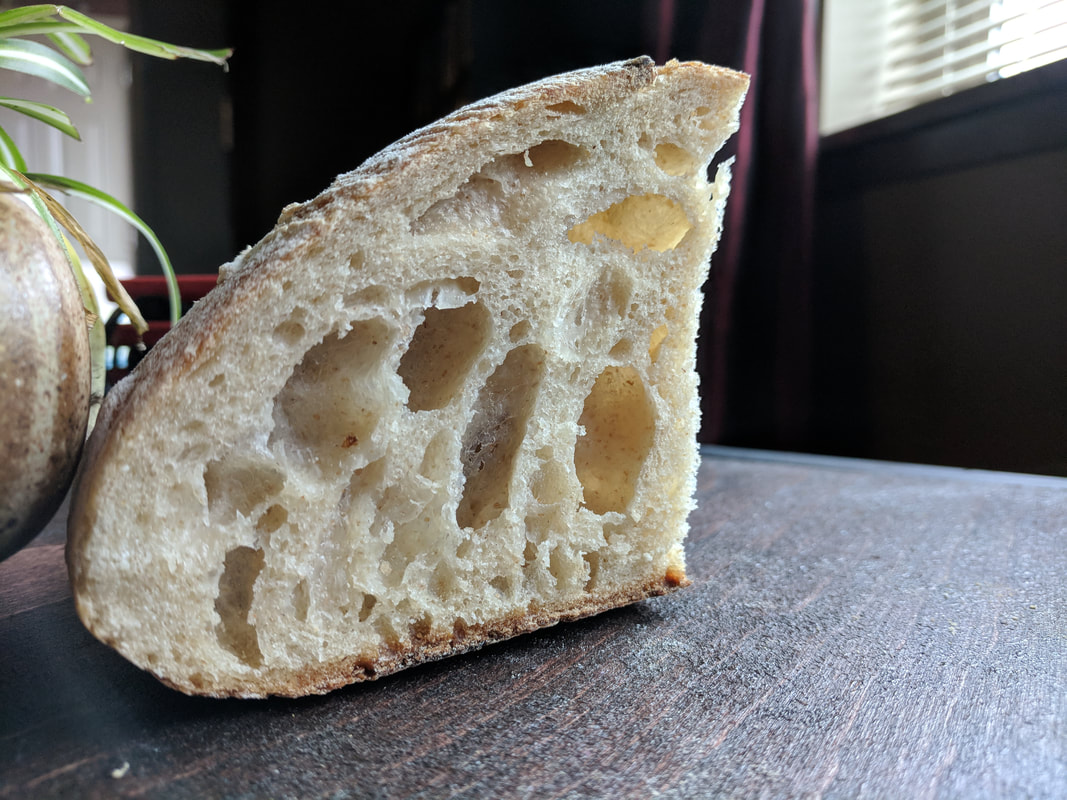
SO now you can start baking OR, you can even further shape these and allow them to cold-ferment in a refrigerator. It's really up to you. This may be an anecdote, but I got a tighter crumb (less air pockets) when I left it in the fridge overnight.
Either way, you've got proto-raw-bread.
The Business:
Preheat an oven to 500 deg F. Yes, that hot. Not even joking. Place your Dutch Oven inside as you preheat, and leave it there for a solid 40 minutes to get that cast iron nice and saturated with heat.
Cut out a square of parchment paper roughly the size of the bottom of your Dutch Oven and lightly flour it. Transfer the dough to the parchment, ensuring that the seam-side is again down.
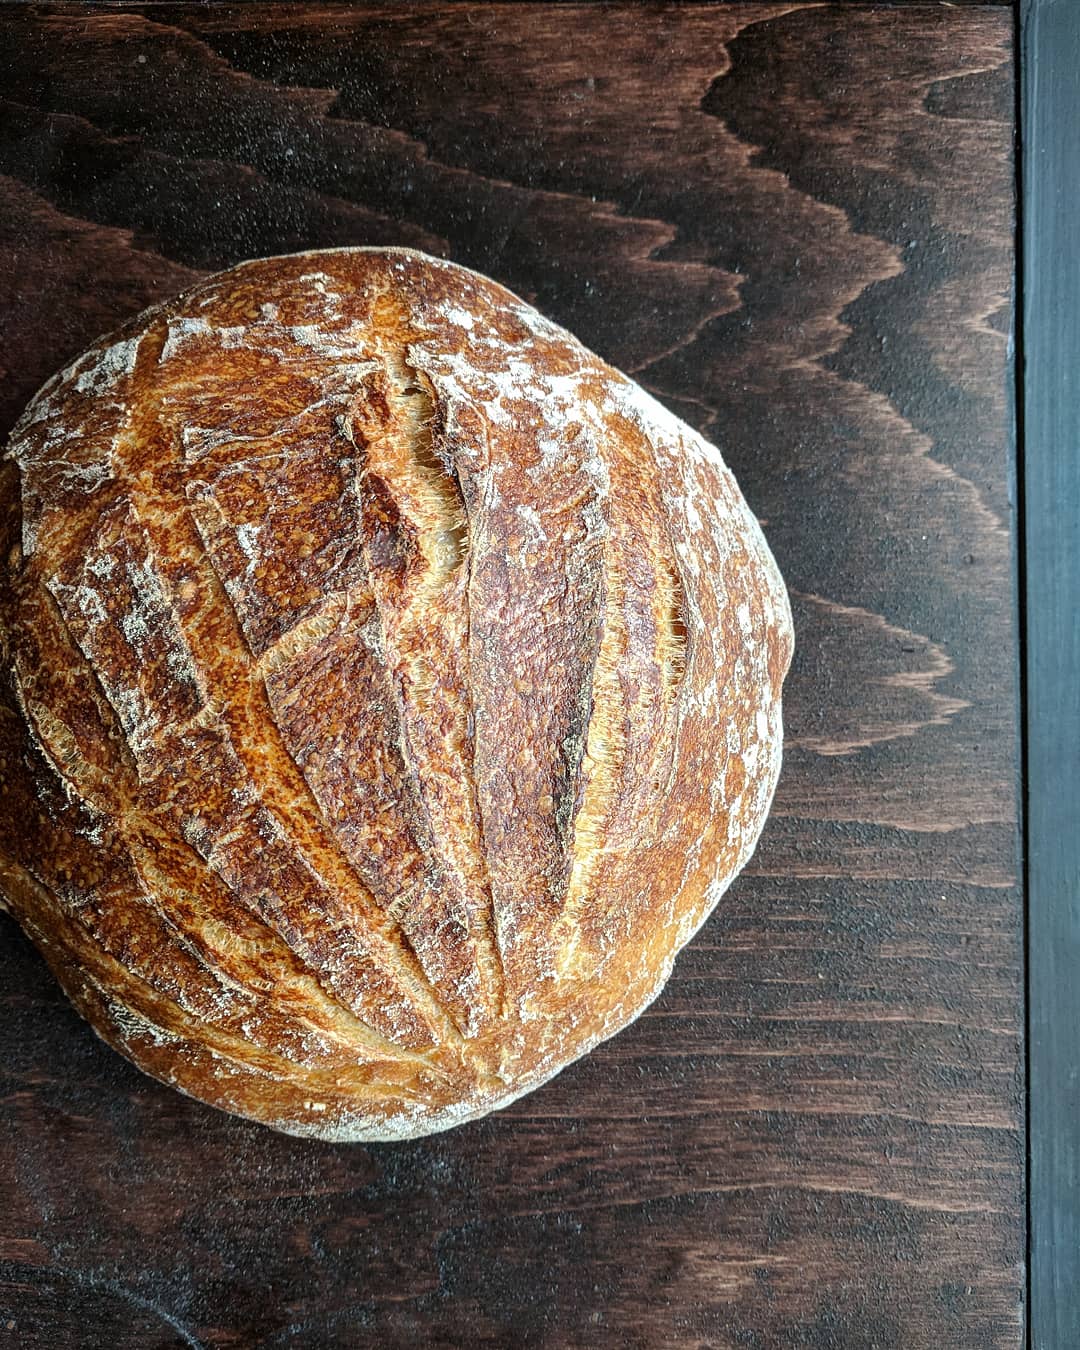
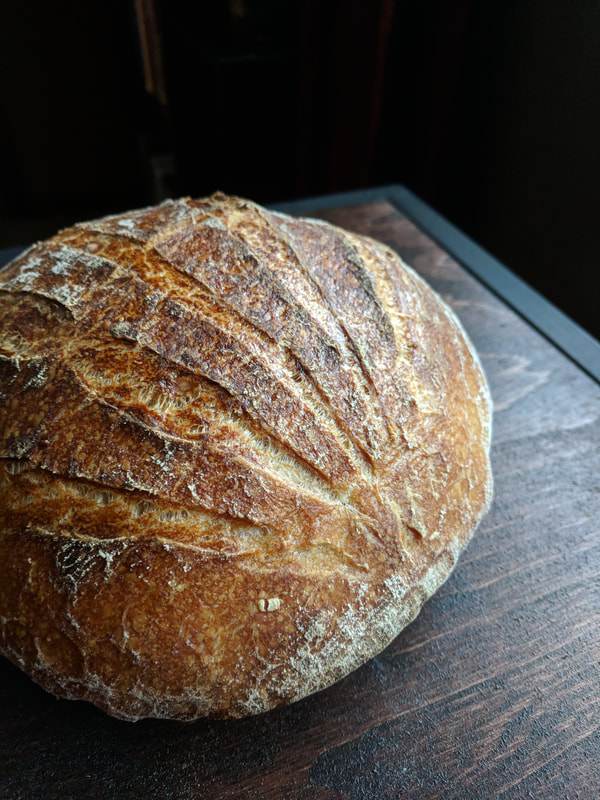
When you're ready to bake, take the sharpest knife in your house (or fresh, clean [did I mention CLEAN] razor blade) and score the top of your loaf with whatever pattern you like. Do this in a swift, single action, and don't be too shy about cutting deep. You want deep cuts, so pretend you're a hipster talking about that one side of that really obscure Neutral Milk Hotel album that nobody listened to. Scoring allows your bread to turn out Instagrammable AF, but it also acts as a vent for excess moisture to escape and for fine control in how your final loaf will rise.
Carefully remove the Dutch Oven and place the dough and parchment paper into the bottom. Lid it up, and throw it into the oven for 15 minutes.
After 15 minutes, uncover the lid and continue baking at 500 deg F for 20-30 minutes.
20 minutes for more tender, soft bread but 30 for a solid crust. Use your discretion.
LET IT COOL. Treat it like a steak and let it rest; it's tempting, yes, but wow, you gotta let it cool to let everything relax.
Slice. Cover with things. Eat it with soup. Do whatever. Just enjoy the fruits of your laborious journey.


