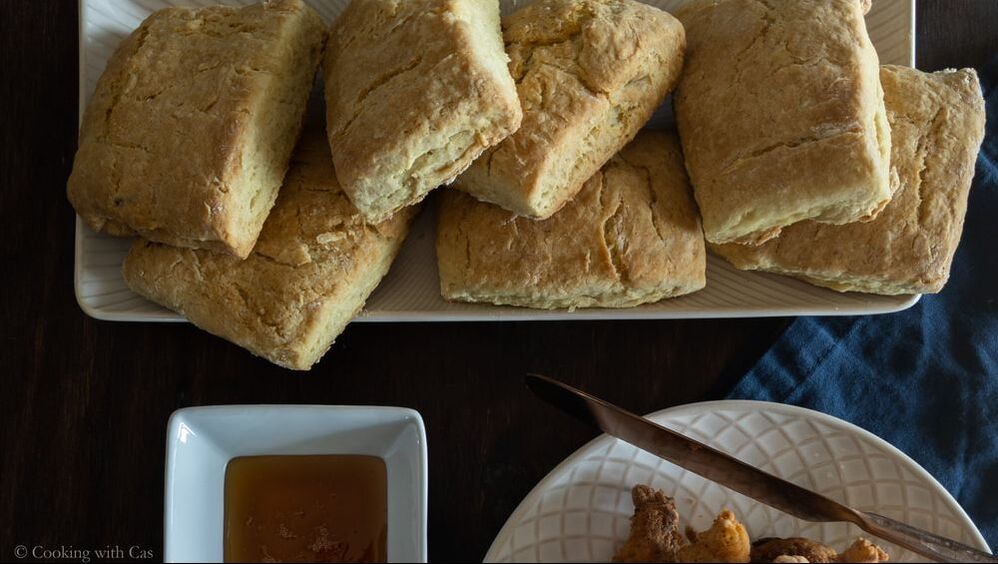
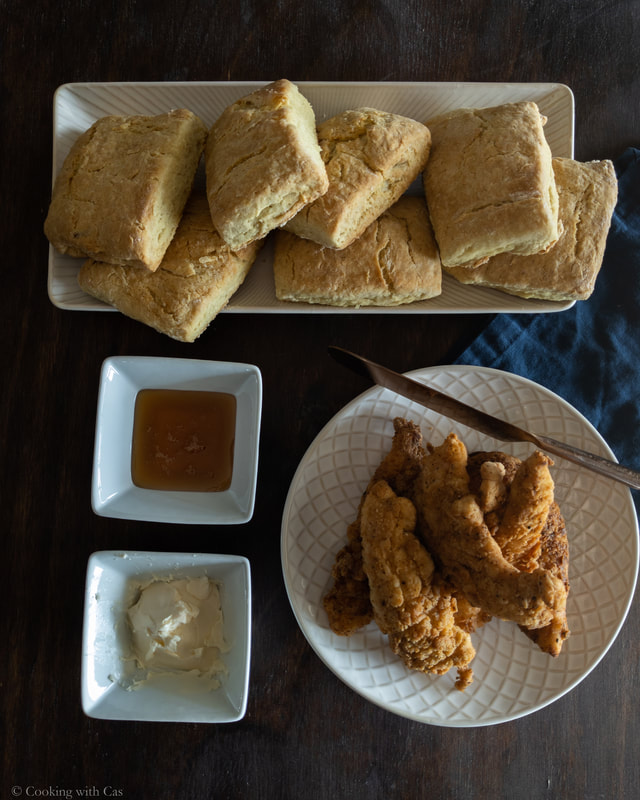
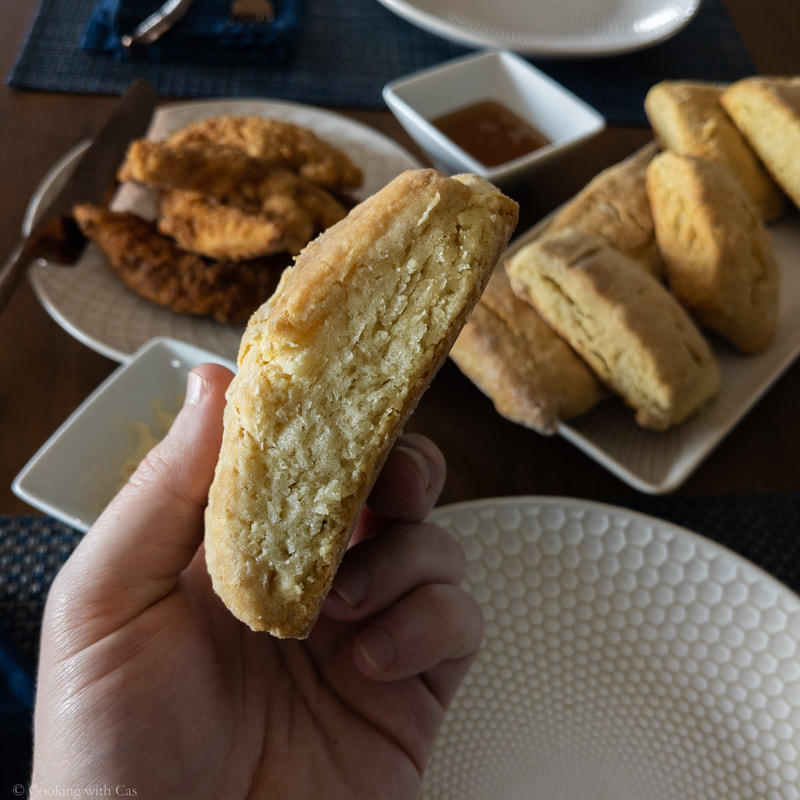
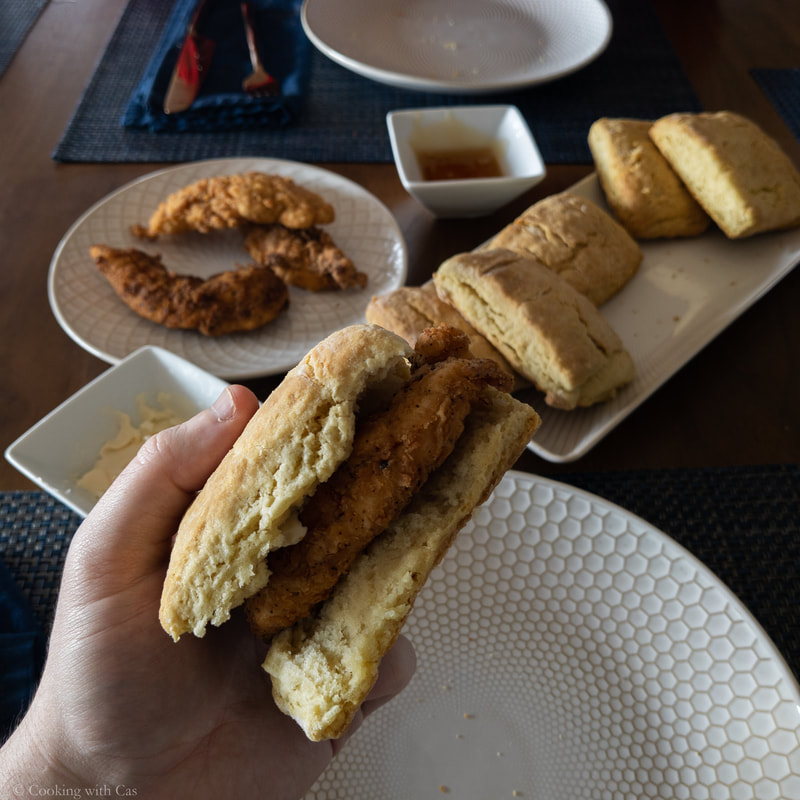
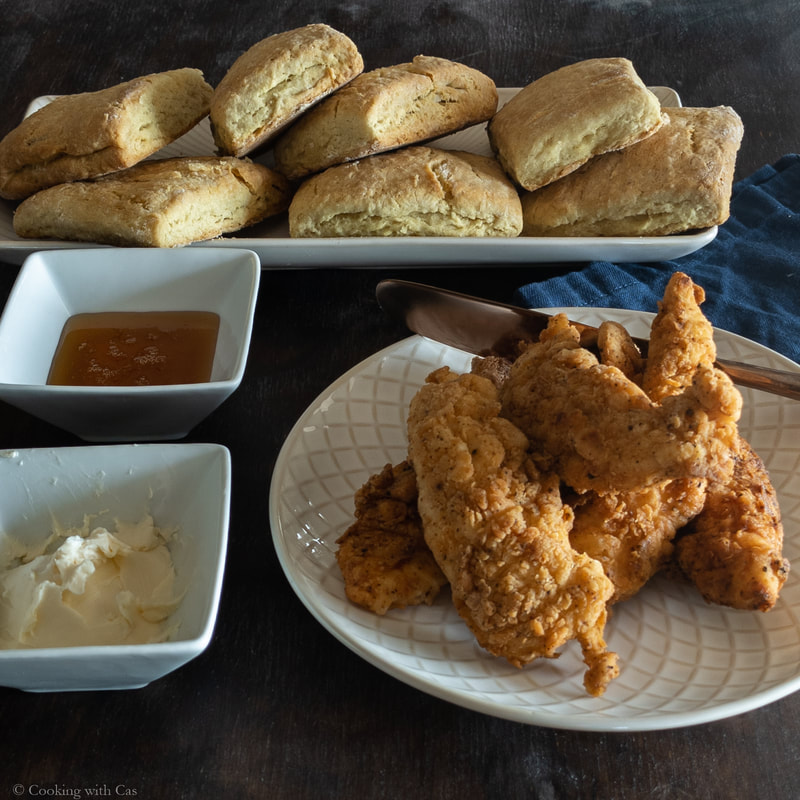
Flaky, slightly crumbly, incredibly filling biscuits are hard to beat on a Sunday morning or afternoon if you're looking for a departure from the standard eggs, bacon, and toast.
|
Biscuits are easy - don't let anyone tell you different. I saw my grandmother make them from scratch on a near-weekly basis and she never measured a damn thing - still not entirely sure how she did it. (Maybe it was the sniff-test on the jug of buttermilk in the fridge?) However, I suggest you do measure some of these, unless you're feeling particularly cavalier. Make sure to measure by weight, and this recipe will make 8 large biscuits. Probably could grab 6 if you're feeling feisty and want to go even larger. Editor's note: biscuits freeze and reheat extremely well - just allow them time to cool completely and toss into a zip-top bag into the freezer.
Biscuits are also one of those items that people want to either *elevate* or *optimize*, both concepts being ones that I actually despise. Steer clear of cream biscuits - ones that only include heavy cream, salt, and flour; they will be severely underwhelming. Similarly, avoid the biscuits that are reminiscent of the imminently exploding cylindrical cans, the ones with the metallic taste and peel apart layers as if the biscuit was some flour based face mask fit for a Saturday detox. Putting *that* much work into biscuits, by folding layers of butter and flour together should be reserved for pastry itself. Biscuits should not be characterized by layers, they are far too humble for that, and even if you look historically, the rural South didn't have widespread access to ice houses or refrigeration to chill layers of butter and flour rapidly, so don't do it in [current year]. So I spent all of this time and energy stressing that biscuits are much unlike pastry, but in reality, their construction isn't too dissimilar. You're cutting fat into flour and salt, and then incorporating an acidic milky substance to bring it together - the real difference is just the amount of fat and even consistency (you don't have to have these huge streaks of fat like you would for a pie crust). The acidic milk mixture really gives the baking soda and powder a nice extra lift potential, so you're not dealing with cakey, dense biscuits if you tried to build them very tall before tossing into the oven. Shopping List:
|
Hardware:
|
Prep:
Preheat your oven to 475 deg F.
Liberally flour a working surface.
Cut buttery spread (or shortening) into small chunks and place into the freezer for about 15 minutes to firm up if you want flakier biscuits. Butter straight from the fridge will do fine if you're after tender drop-style biscuits.
Whisk dry ingredients (flour, baking powder, salt) together in a mixing bowl.
Mix coconut milk and lemon juice to raise the acidity of it to emulate buttermilk (this encourages an environment for the baking soda and powder to do its magic). Mix in the baking soda, and put it back in the refrigerator to keep it cold - it should also foam dramatically during this time unless your baking soda is old.
The Business:
Working quickly and with your fingertips, start pinching the fat into your flour mixture until no large chunks or ribbons of "butter" remain. You've heard this a million times before, but you're looking for a coarse sand texture. If you can't tell by eye what that looks or feels like, pour out a small bowl of regular flour and compare it. Freshly sifted white flour is wispy and light, but your crumbly mixture should be noticeably darker and heavier.
Make a well in the center of your bowl and slowly begin pouring in the milk mixture and start folding the crumb into the well with a spatula or wooden spoon. It'll be sticky. Just go with it, don't try to fight it and don't wash your hands. There's enough moisture in it. Just like pancakes or pastry, don't overmix at this point, doing so will develop excess gluten, resulting in tough biscuits.
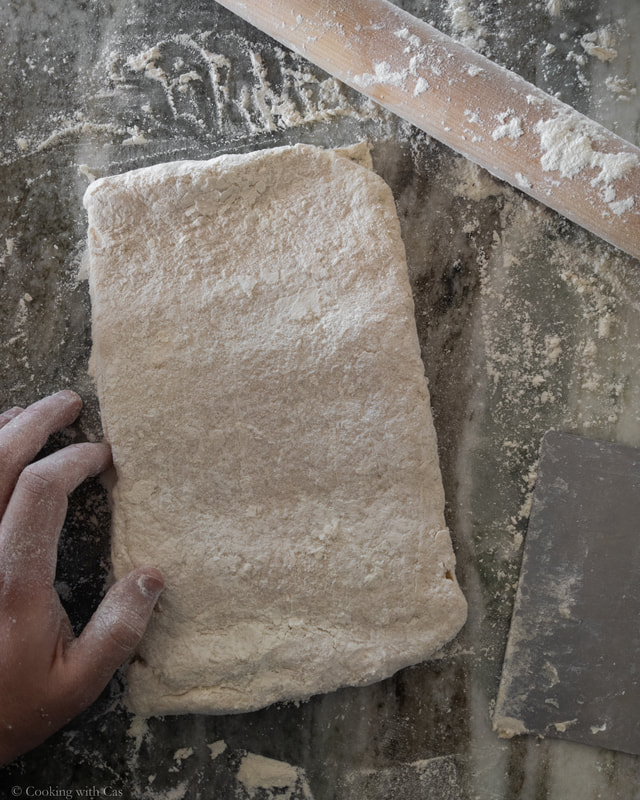
Turn the dough out onto that well-floured surface, dust the top of the dough mass with flour and we're going to perform 2 sets of folds. For the first set, gently roll the dough out to about 3/4" thick, to a rough rectangle about 9"x13", making sure the dough doesn't stick to the counter (read: flour liberally as you go). Take the short ends and fold over 1/3 of it as if you were folding a letter for an envelope. Take the other 1/3 of it and fold on top of that. Now, grab the new shorter end and carefully fold it over the top. If it tears at this stage, it's not that big of a deal. Just keep it more or less a nice rectangle parcel.
Flip this over so it is seam-side down and optionally refrigerate for 10-15 minutes. Then repeat the folding cycle one more time (it should be noticeably easier to do this round).
Gently roll out the dough to about 1" thickness - you should wind up with about a 10"x10" square. Now, make your decision on what shape biscuits you want.
For square biscuits:
Cut them into squares. What did you expect here?
Transfer these onto the rimmed baking sheet.
For circular biscuits:
Leaving as little room as possible in-between cuts, start cutting out rounds using your biscuit cutter. If you have a straight walled high ball glass, that will work too.
Peel away the excess dough and place biscuit rounds into your baking tin, so the biscuits are ever-so-slightly touching each other. You don't want them to be completely separated from each other, but then you also don't want the biscuit dough that ate Cleveland.
Gather the excess dough back, and roll it out and continue the cutting process until you can't form any more doughy rounds. These follow-up biscuits will NOT be as fluffy as the original ones, fair warning. But you can drown those tears in a pool of carbs.
Back to the business:
Brush the excess flour off the tops of the biscuits - this will likely burn in the oven. Optionally brush with melted butter, this can impede browning, but will result in a more tender top. Your call.
Throw the biscuits into your 475 deg F oven.
The baking time is fairly variable, to your oven but also to your taste, as well as the size of biscuit. 15 minutes is about the bare minimum for slightly doughy (arguably undercooked) biscuits. But you should really look for good browning on top, and that'll take a solid 18-20 minutes. If that doesn't occur, you can always check the bottoms. If they're looking browned evenly, go ahead and pull them.
Let these rest for a good 5-7 minutes after you've removed them from the oven. Obviously don't let them cool completely, but nobody likes putting magma into his or her mouth.
Enjoy.
